James Hardie Site Prep & Utilities: The San Francisco Owner’s Guide
Site prep and utilities work for a James Hardie installation in San Francisco typically runs $1,800 to $5,600 depending on scope, and we stock the common materials on our trucks so most jobs start within a few days. What we’re talking about here: grading and drainage, underground utility runs, backer board and flashing prep, and the utility hookups your Hardie siding or Hardie-backed structure depends on. Homeowners usually discover this part of the project has failed the messy way: water pooling against a Hardie seam, a conduit that’s cracked at ground level, or a downspout that’s been quietly dumping runoff under the house for a season. If the prep under your Hardie isn’t right, the Hardie itself can’t do its job.
Which James Hardie Models This Applies To
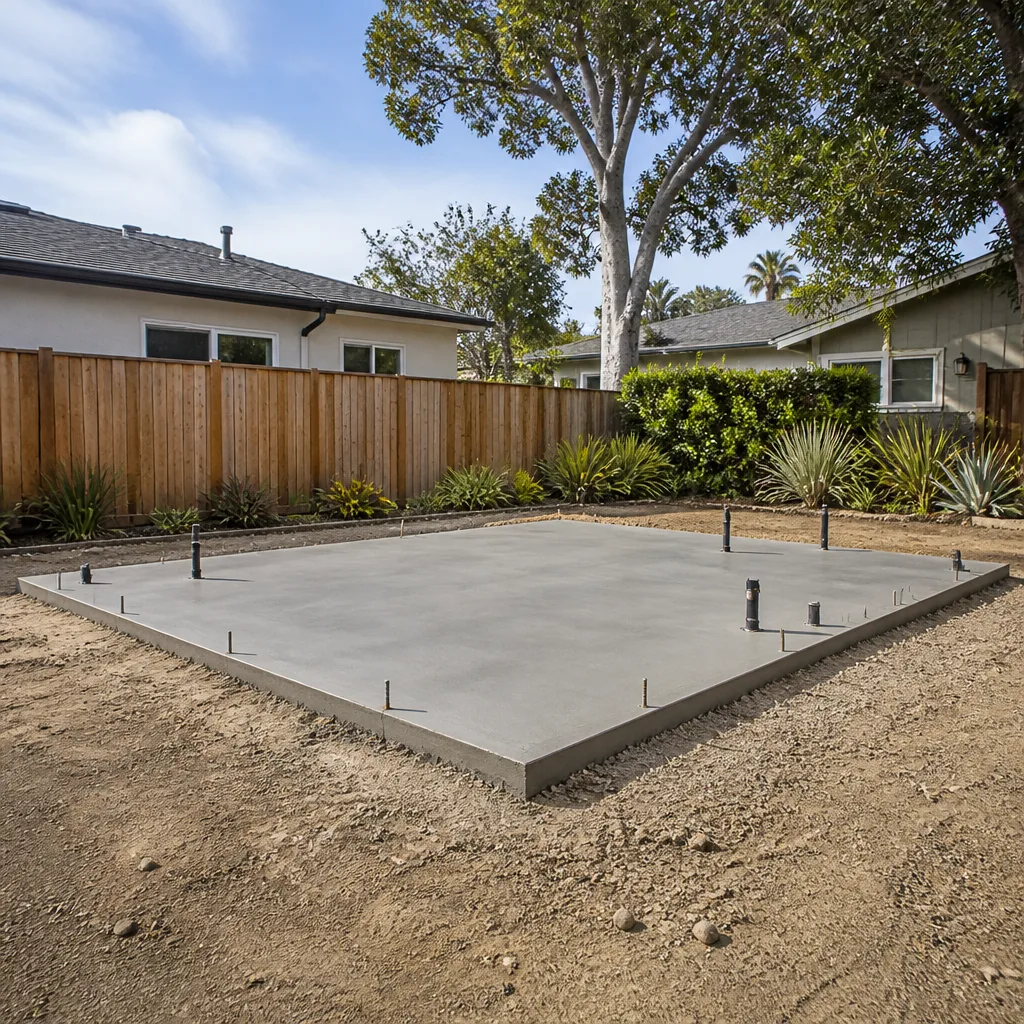
This applies to any structure clad in James Hardie siding or panel products, and to the site conditions that support it. HardiePlank lap siding, HardiePanel vertical siding, HardieBacker board used as exterior substrate, and HardieTrim boards all sit on top of whatever you prepared beneath them. The site prep and utility work underneath is universal: grading that moves water away, flashing that directs moisture out, and utility sleeves or conduit that keep electrical and plumbing runs dry and serviceable.
One compatibility gotcha we see often in San Francisco: HardieBacker on an exterior wall is not a waterproof barrier. It’s a cement board that resists moisture but doesn’t stop it. If your flashing or WRB (weather-resistant barrier, the housewrap or membrane layer behind the siding) was skipped or done wrong, the backer board soaks up water and holds it against your framing. The board itself looks fine for years while the studs behind it rot. We check the full layering when we come out, not just the visible Hardie surface.
The OEM vs aftermarket decision for site prep materials is different from a mechanical part. There isn’t a “James Hardie brand” of drain pipe or conduit. The right move is matching material specs to the job: schedule 40 PVC or ABS for underground drainage in most San Francisco residential lots, rigid metal or schedule 80 conduit where it passes through hardscape or gets exposed, and flashing that’s compatible with the Hardie profile you’re using. We don’t reinvent the wheel on this. We use what the material sheets specify and what’s held up across the hundreds of fog-wet San Francisco winters we’ve worked through.
Signs Your James Hardie Site Prep & Utilities Is Failing
- Water pooling along the foundation or against the Hardie sill line. The grade has settled or was pitched wrong from the start. Hardie wicks water upward from ground contact if the 6-inch clearance to grade isn’t maintained, and in San Francisco’s wet season that means paint failure first, then board swelling at the bottom edge.
- Damp or musty smell inside the wall, especially after rain. Flashing behind the Hardie has failed or was never installed correctly at penetrations, windows, or the foundation line. The Hardie looks fine from the outside, but the wall cavity is holding water, and that’s a mold and framing problem, not just a siding one.
- Cracked or shifting underground conduit at the point where it exits the ground. Heaving from San Francisco’s clay soils and seasonal saturation stresses rigid conduit. Once a crack opens, water gets into the electrical path, and you’ve got corrosion and potential shorting inside the run.
- Downspouts dumping directly against the foundation. This is a site utility failure more than a Hardie problem, but it kills Hardie from behind. The splashback soaks the bottom course of siding every time it rains. We see this on older San Francisco homes where gutters were added decades after the original build and nobody ever extended or buried the downspout runs.
- Exterior outlet boxes pulled loose from the Hardie surface. The box was mounted against the siding without a proper mounting block or seal. Every time a cord gets yanked, the gap widens, and now water is running down inside the wall. This one’s a fire and shock risk, not just a moisture problem.
Replacement Cost & What’s Included
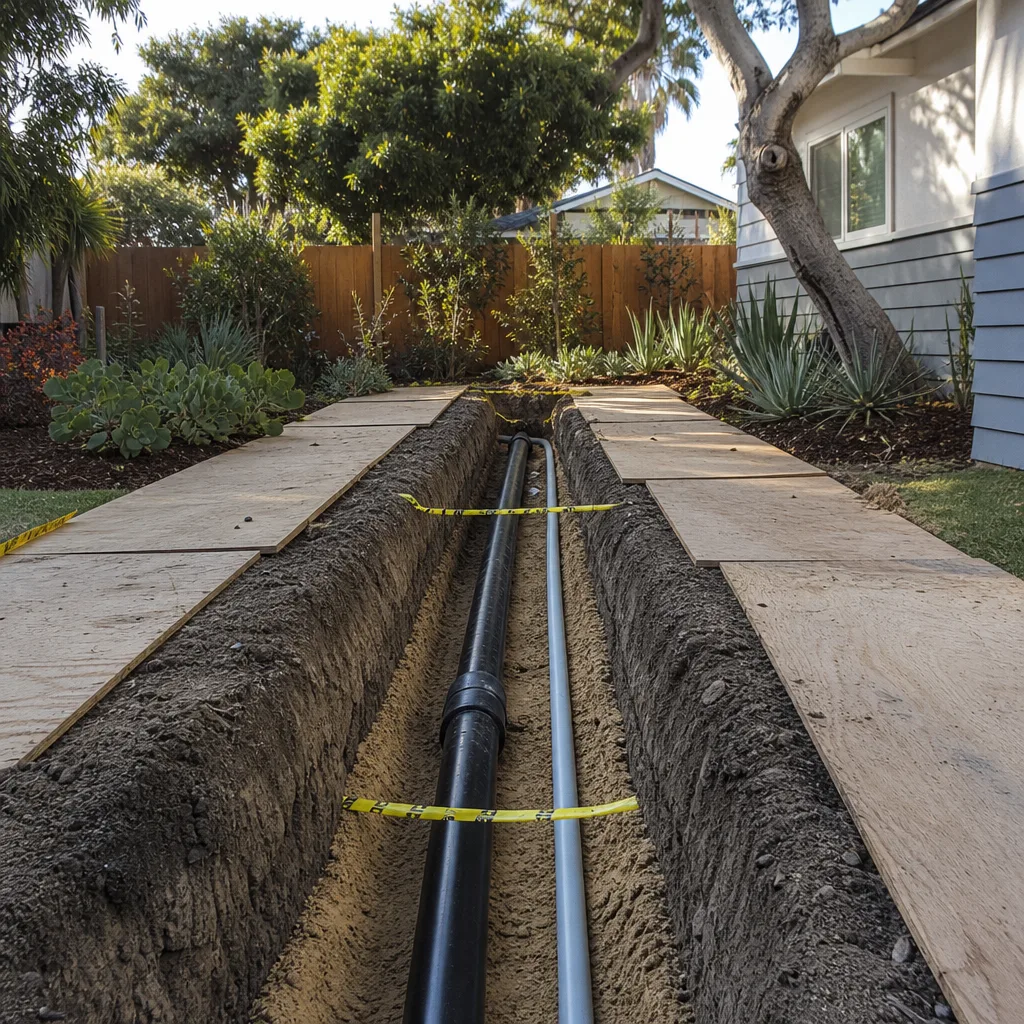
For San Francisco site prep and utility correction, the installed ranges look like this:
- Regrading a foundation perimeter (20 to 40 linear feet): $800 to $2,200
- Redirecting or extending downspouts with buried drain lines: $400 to $1,400 per run
- Replacing damaged flashing behind Hardie at a wall or window penetration: $300 to $900 per area
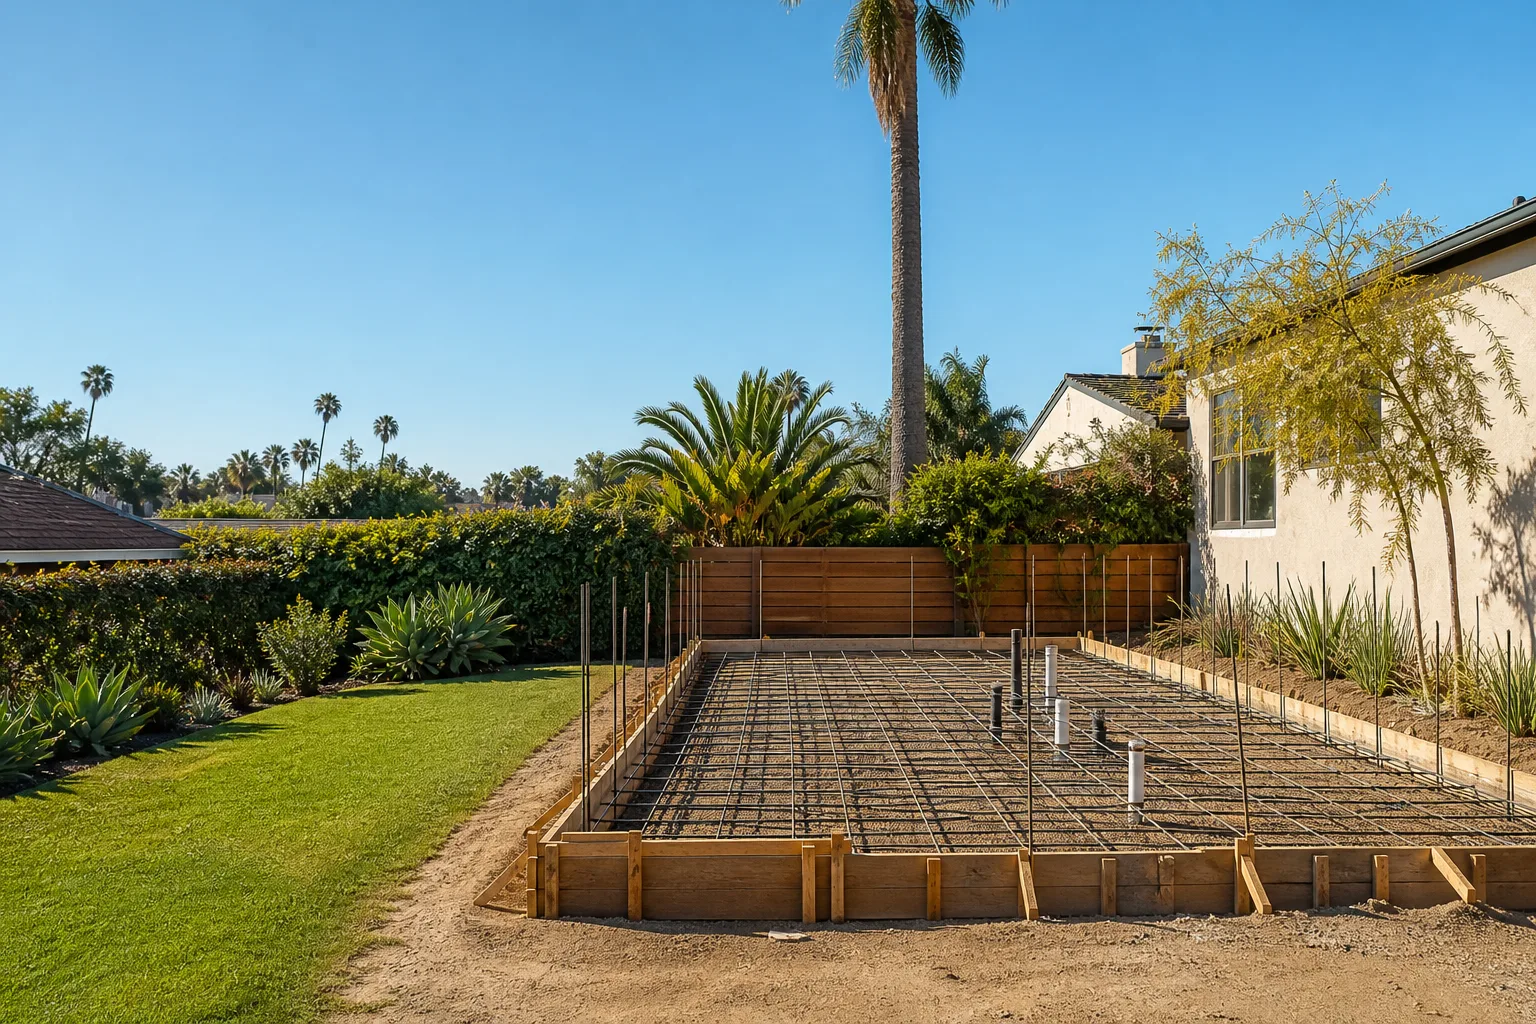
- Replacing underground conduit or utility sleeves: $500 to $1,800 depending on length and access
- Full site prep correction plus Hardie bottom-course rework: $2,000 to $5,600
What drives the range is access and what we find once we open things up. A downspout extension on open ground is quick. A buried conduit repair through a poured walkway is a different job. Every quote includes parts, labor, haul-away of whatever we remove, and our written workmanship warranty, which follows the Kingswell Guarantee: if the work fails within 365 days, we come back and make it right at no charge. You’ll get the price in writing before any work starts, and it will not change at the door.
DIY or Call Us?
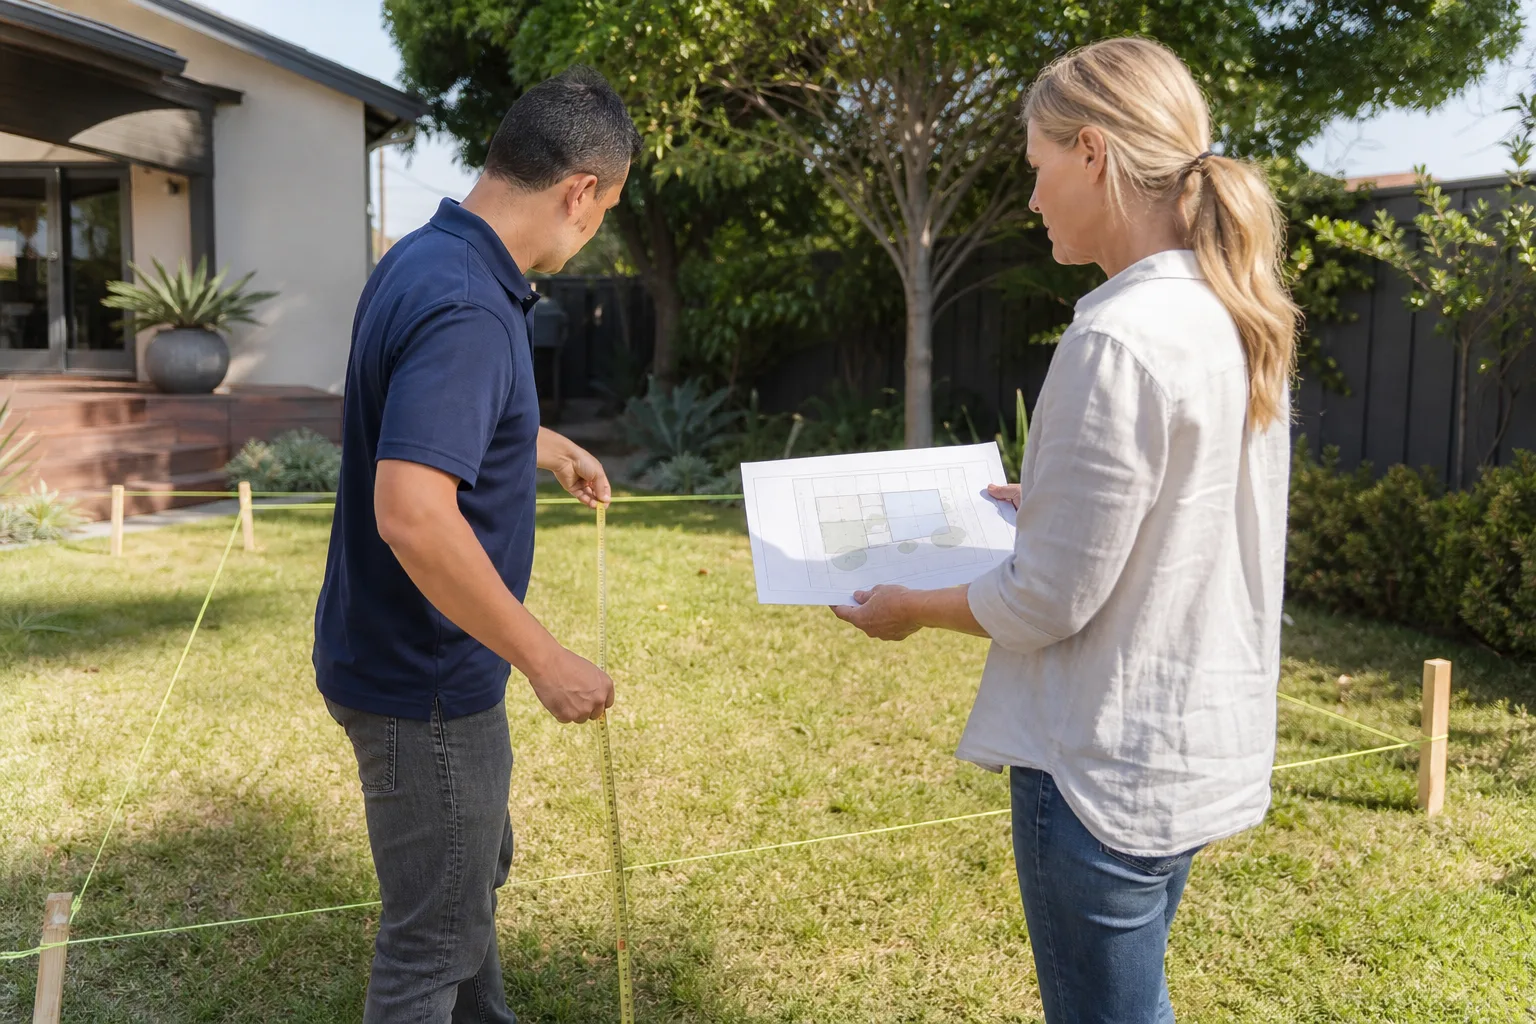
You can safely check a few things yourself: look at whether your downspouts empty at least three feet from the foundation, verify that your Hardie bottom edge has visible clearance above soil or concrete, and walk the perimeter after a rain to see where water actually goes. Those observations help, and they’ll make the phone call faster. What you shouldn’t do is dig near buried utility lines without calling 811 for locates, or open up exterior walls to investigate flashing if there’s any chance of electrical wiring in the path. Water and electricity don’t mix, and a misjudged shovel slice through a live line is a hospital trip. If you’re seeing any of the failure signs above, call us at (707) 760-0502. We’ll walk the site, tell you what’s actually wrong, and put the fix in writing.
FAQs
Done correctly, the site prep and utility infrastructure under your Hardie should last 20 to 30 years before needing meaningful correction. The two things that shorten that dramatically in San Francisco are poor initial drainage and earthquake-season soil movement, both of which shift grade and stress underground runs. We’ve also worked on Hardie products alongside Abodu, Cover, and Dvele builds, and the same rule applies across all of them: the prep outlasts the siding when the water management is right.
Most site prep failures are repairable without tearing everything out. A grading problem gets corrected with fill or a swale. A flashing failure gets addressed at the specific penetration. What matters is catching it before the damage spreads. That said, if water has been running into a wall cavity for years, the repair scope grows to include framing inspection and possibly replacement. Call (707) 760-0502 and we’ll tell you which situation you’re in after one site visit.
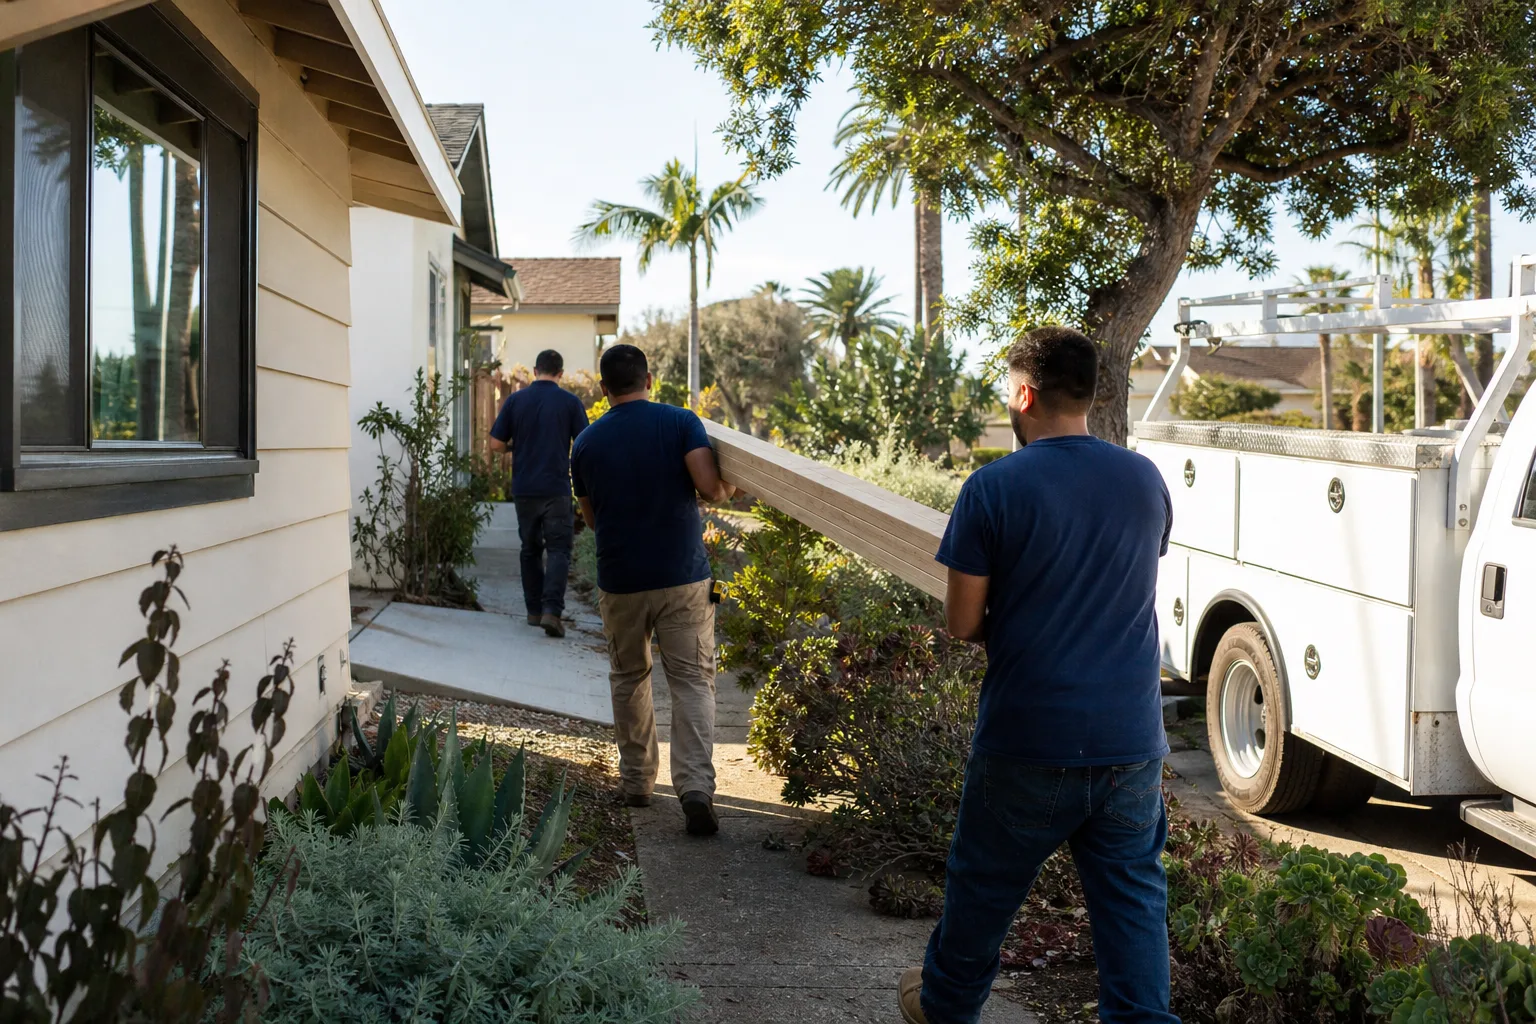
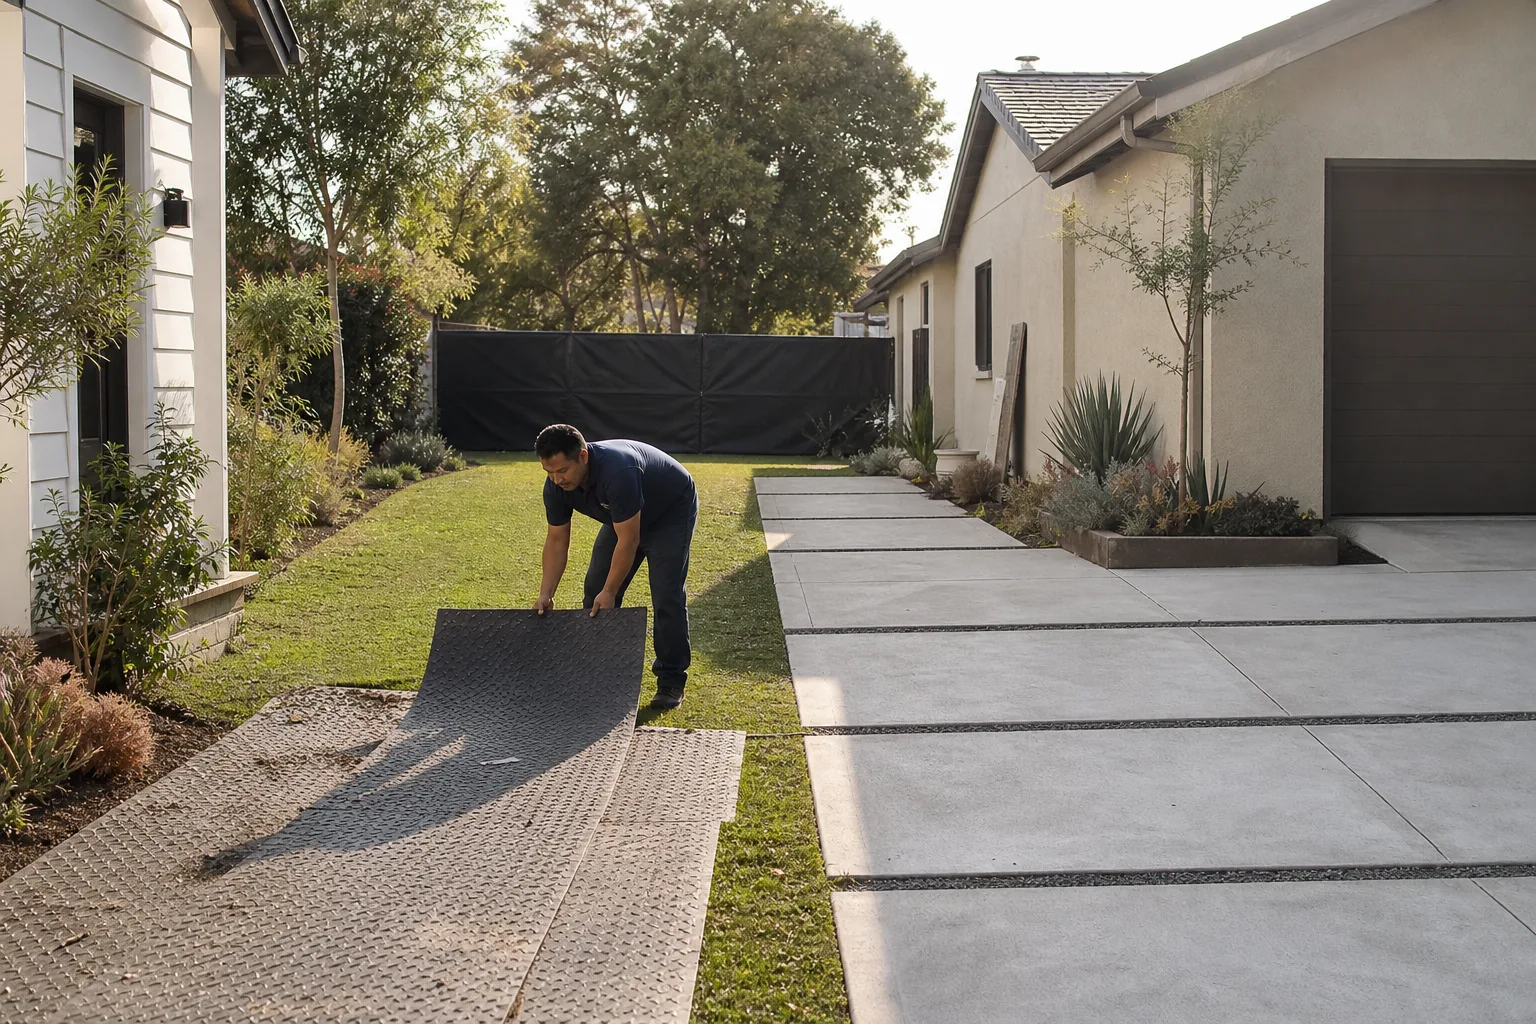
Most corrections run one to three days on site. Regrading and downspout rerouting are typically single-day jobs. Conduit replacement through hardscape can take two to three. If Hardie bottom courses need to come off and go back on, plan for the longer end. We’ll give you a written schedule with the written price, and the crew shows up in the window we give you. That’s just how we run it.
We stock the common site prep materials: schedule 40 pipe, drainage fittings, flashing stock, sealants rated for Hardie contact, and backer board. If your job needs a specialty order, we’ll tell you on the first visit and give the timeline in writing. For most San Francisco residential jobs, we’re able to start within a few days of the estimate. Russ Delmar walks every site before quoting, because a number without eyes on the ground isn’t worth much. Tell me what the space needs to do, and we’ll figure out how to build it right.
Lodgewick ADU San Francisco is an independent service provider and is not affiliated with James Hardie. We work with James Hardie materials, and we also support builds from Abodu, Cover, and Dvele.
If your James Hardie site prep or utilities have failed, or you suspect they’re failing, call us at (707) 760-0502. A live person answers, day or night, and we’ll get Russ or a crew lead out to look at the site. The estimate is free, and the price is in writing before any work starts.
Written by Russ Delmar, Owner, Lodgewick ADU San Francisco at Lodgewick ADU San Francisco, serving San Francisco and nearby areas.